
Creating a Rubric
Brightspace allows you to create a grading rubric that can be attached to an Assignment, Grade Item, or other assessed items. We suggest creating your rubric ahead of time on paper, and then entering your criteria into Brightspace. There is no way to “upload a rubric” from an Excel file or other type of table – you will need to enter the text into Brightspace manually.
There are two types of rubrics available for use in Brightspace. This article from Novak Education explains Holistic vs. Analytic in more detail and provides visual examples.
- Holistic Rubrics – Single criterion rubrics (one-dimensional) used to assess participants’ overall achievement on an activity or item based on predefined achievement levels. Holistic rubrics may use a percentages or text only scoring method.
- Analytic Rubrics – Two-dimensional rubrics with levels of achievement as columns and assessment criteria as rows. Allows you to assess participants’ achievements based on multiple criteria using a single rubric. You can assign different weights (value) to different criteria and include an overall achievement by totaling the criteria. With analytic rubrics, levels of achievement display in columns and your assessment criteria display in rows. Analytic rubrics may use a points, custom points, or text only scoring method. Points and custom points analytic rubrics may use both text and points to assess performance; with custom points, each criterion may be worth a different number of points. For both points and custom points an overall score is provided based on the total number of points achieved. The overall score determines whether the activity is achieved.
Updated Spring 2022
Create a Rubric
This example shows an Analytic Rubric. The process is similar with a Holistic Rubric.
- On the navbar, select Course Admin -> Rubrics
- On the Rubrics page, click New Rubric
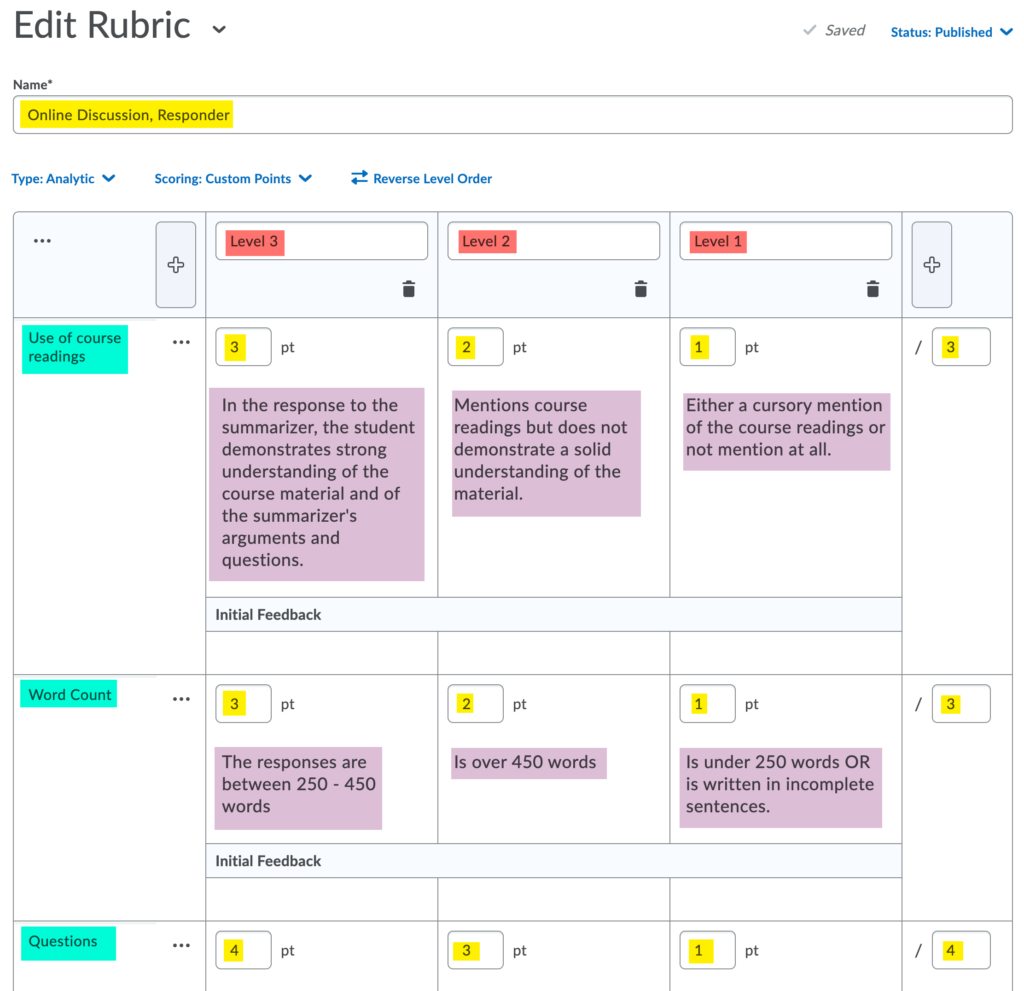
- Give your rubric a title, then input the criteria names, descriptions, point values, and any initial feedback you have to offer. The image below showcases highlighted areas where you will need to enter information:
- When you are finished, click Save. Your rubric is currently in Draft mode. You will not be able to link it to anything until you have set it to Published.
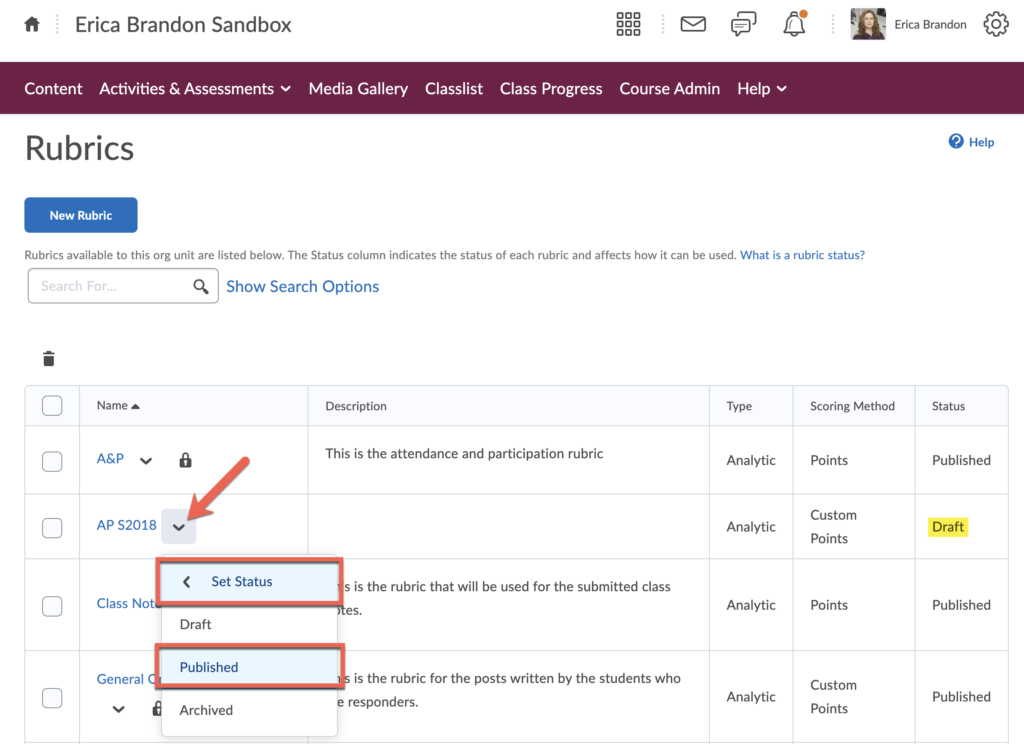
- To Publish the rubric, click the dropdown menu next to the rubric, select “Set Status” and Published
Associate your Rubric with an Assignment
- Navigate to the assignments page
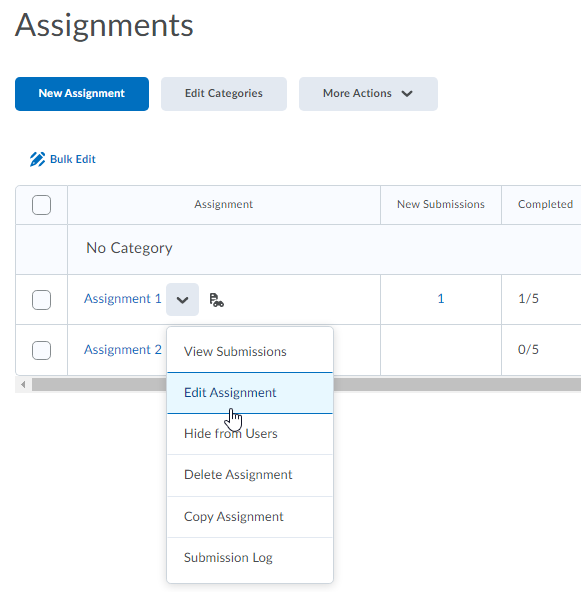
- Select the dropdown arrow next to the assignment name, then choose Edit Assignment
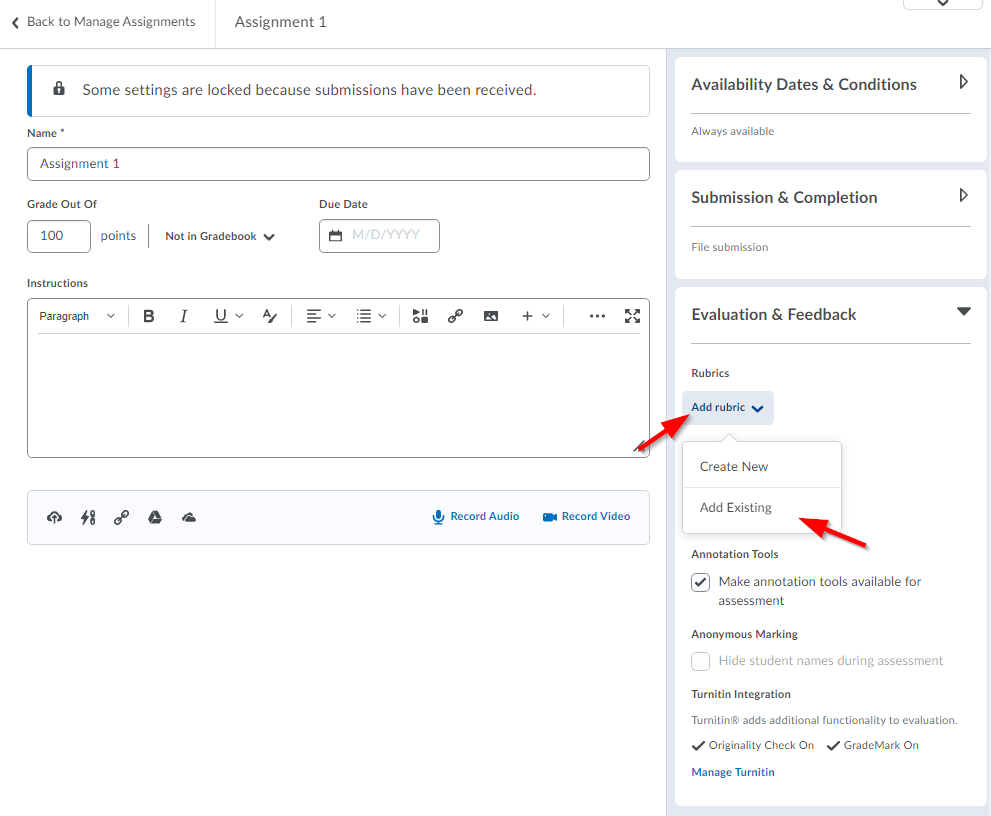
- In the Evaluation and Feedback section on the right side, select Add Rubric -> Add Existing
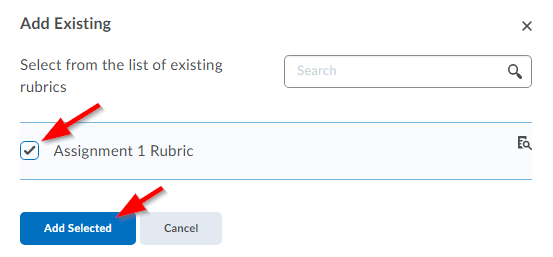
- Select the checkbox next to your rubric’s name, then choose Add Selected
- Select Save and Close to save your changes