Using Kaltura Capture in Brightspace
Kaltura has its own screen capture tool to allow users to record their screen, microphone, webcam, computer audio, or any combination of the four. This guide will quickly show you how to access and use this tool.
Updated Spring 2020
Record a video with Kaltura Capture
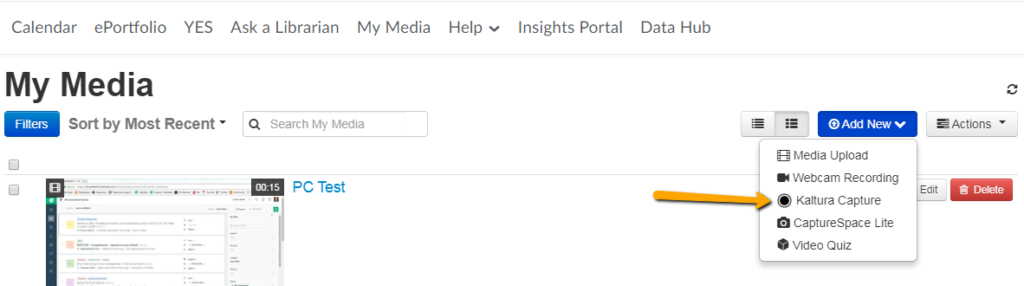
- On your Brightspace dashboard, click My Media in the NavBar.

- Click the Add New button and select Kaltura Capture.
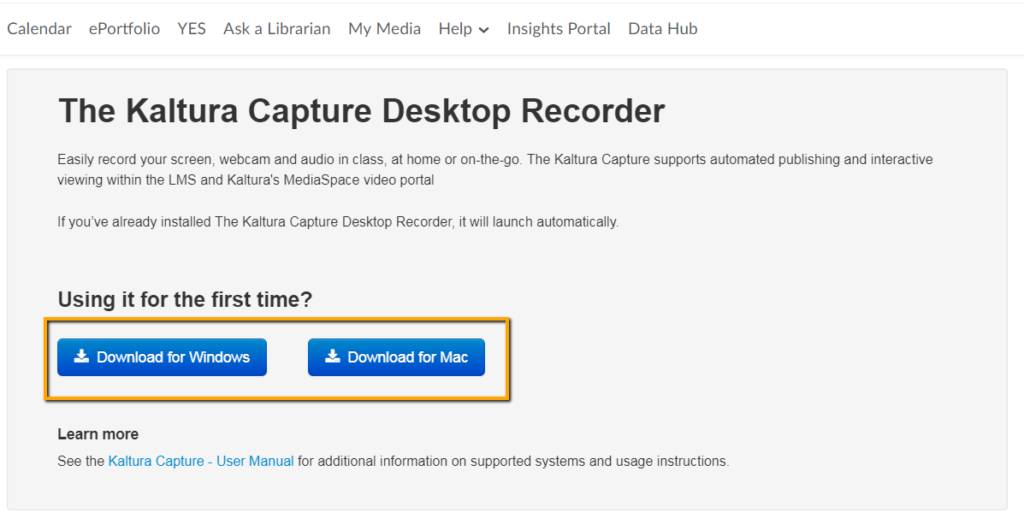
- The first time you use Kaltura Capture, you’ll need to download it. Select the correct download option for your computer.
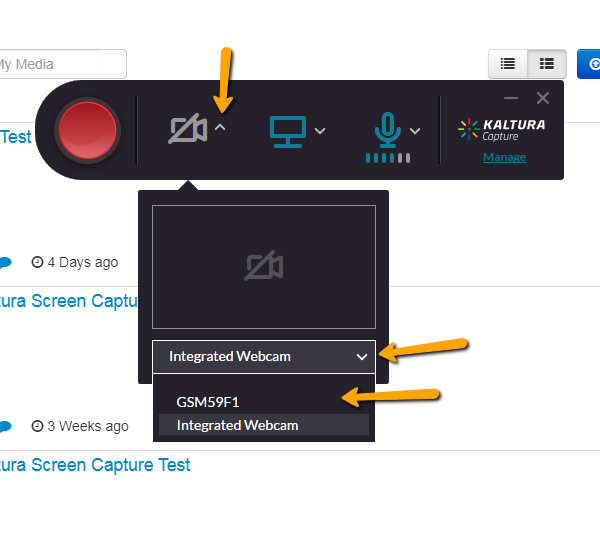
- Once downloaded and opened, you will see the Kaltura Capture toolbar. You will see four buttons in the toolbar: record, camera, screen, and microphone. These inputs indicate what will/won’t be recorded when you click the red button.
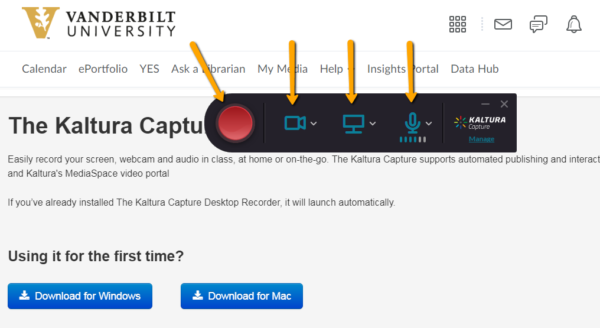
- If there is an input that you do not want to record, you can turn it off by clicking the appropriate icon. You will know it is turned off when you see it turn grey and have a line through it.

- If you have more than one screen that you want to record, you can change one of your inputs from Webcam to the other monitor. You can do this by clicking the down arrow next to the appropriate icon and selecting your input.
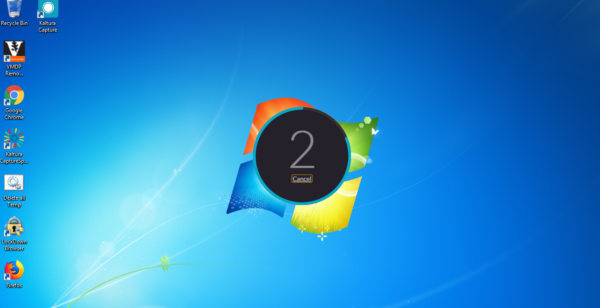
- Once you have your input settings the way you want them, click the red record button. When you do so, you will see a circle appear that will count down from 3.
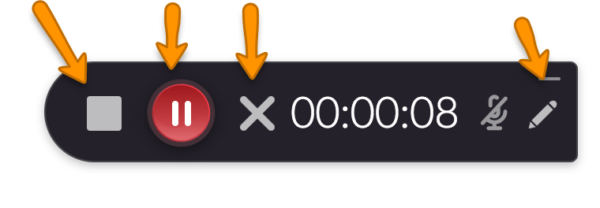
- During your recording, you will see a new toolbar that allows you to control your recording while it is in progress. You have the ability to stop, pause, and cancel. Additionally, there is a pencil icon that allows you to draw on the screen and will record your screen clicks with a yellow dot.
- Clicking on the pencil icon will open a tool bar of additional options specific to adding items on your screen.
- Pencil allows you to draw on your screen.
- Arrow icon allows you to place arrows on the screen
- The “T” icon allows you to add text
- The cursor icon allows you to click on screen items (like normal)
- Four point arrow icon allows you to move any item you have drawn, or placed on the screen to a new place on the screen
- Trash can allows you to delete anything you have placed on the screen and you also have the ability to change the color of your screen items and the width of your drawing lines.

- When you are finished recording, click the Stop button.
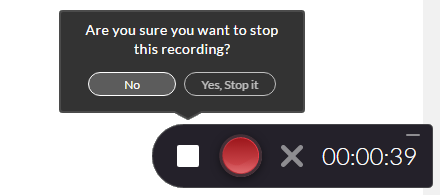
- After confirming that you want to stop, a video library screen will appear. On this screen, you can name your recording and add other optional information like a description and/or tags. Once you have this information entered, click Save & Upload.

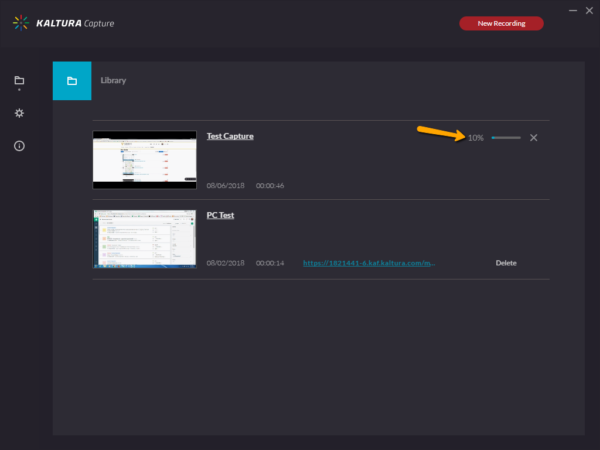
- You will then see an upload progress bar appear next to your video. This may take some time.
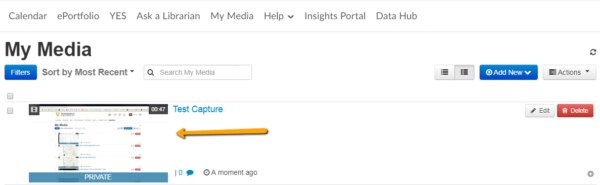
- After your upload is completed go back into your Brightspace dashboard. Refresh the page and click My Media to see your new video. It may take several minutes to process.
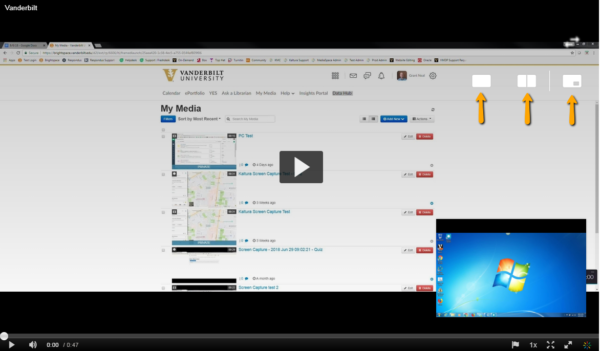
- When your video is ready, click on it to open a media player. There are several views you can toggle between in real time inside this player. The first button allows you to swap the screen in the picture-in-picture view (if you used a camera and screen recording).
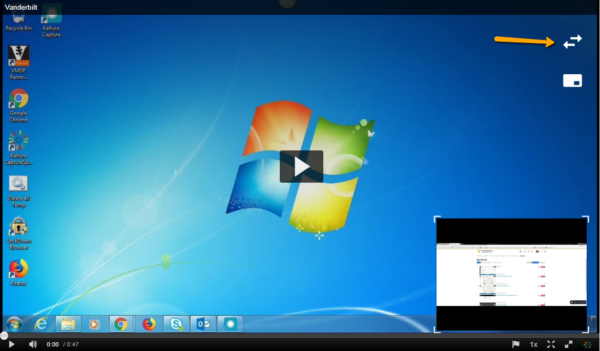
- Clicking the second button gives you the option to toggle between picture-in-picture view, single-screen view, and side-by-side view.